
Make a wall clock as a gift
or a treasured time keeper. (Page 2)
"A stitch in time means some one sewed the clock shut."
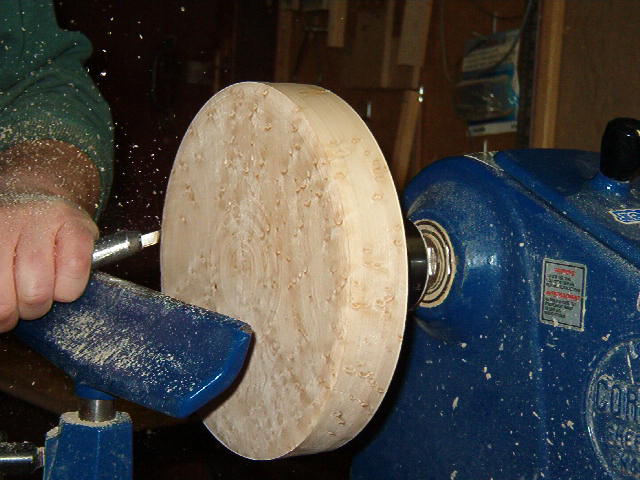
| I then remove the piece from the glue block and reverse it onto my One Way chuck. A jam block will work just as well, but this is easier. Face off the piece and mark the center point. Drill the hole for the center shaft, either on the lathe or off, which ever is easier. |
|
|
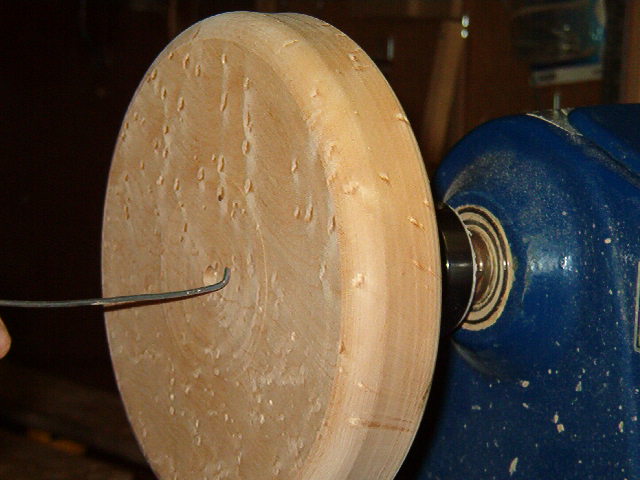
| However you have drilled the hole, we need the piece on the lathe to check for center thickness. Make a thickness gauge by taking a wire and bending a little hook on the end, 90 degrees to the wire. File a mark 1/4" up the wire from the hook. As you turn the face to thickness, stop the lathe, insert the wire and hook to the edge. When the file mark is showing, the thickness has arrived. |
|
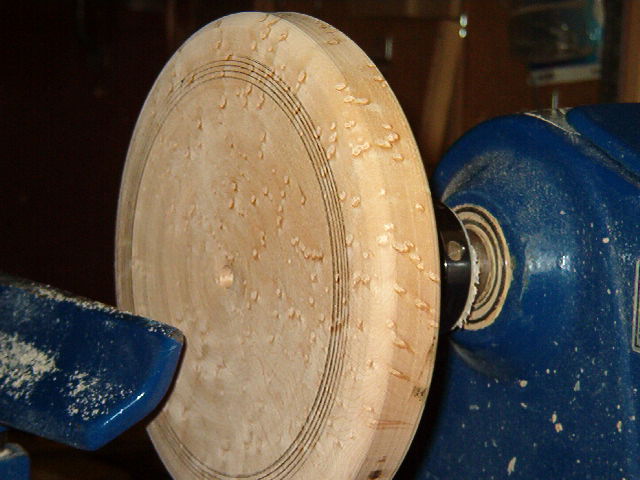
| Here I turn the center to close to finished thickness. One of the mysteries of the working of the eye is that a flat surface on a wall will look concave. I make the surface a little convex and it makes a world of difference. Just a slight dome is all that is needed. Draw a series of circles on the face about where the minute hand will end. It is easier to choose one than to come back later if you do not quite like the placement. |
|
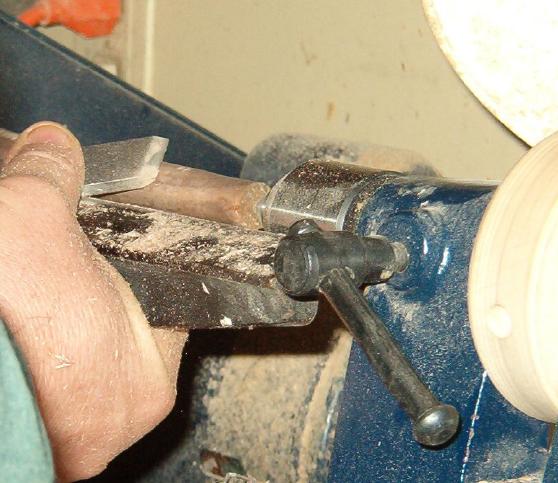
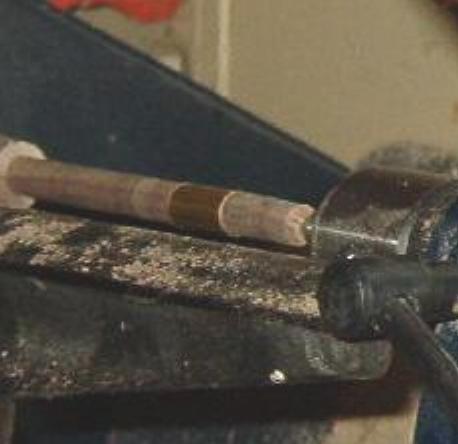
| Turn some walnut or other wood to just fit inside the brass tubes. If you decide not to use brass as a surround, turn or buy some appropriate dowel. I rough down with a 3/4"skew at 3500 rpm. Using calipers set to approximately the right size I use a parting tool to set the dimensions and skew to the size. Then I place a tube on the piece and clean with a skew until the piece just fits inside the tube. This can be a scary thing to do and it is simple to adjust any over cut by using sandpaper off the lathe instead. Use super glue or other glue of your choice to glue the dowel to the inside of the tubes. Doing it now allows the dowel to give support to the fragile tubing wall when it is cut. I use the scrollsaw with a v-block to cut 5/16" lengths from the insert material. Cut a few extra in case a couple do not look right. It is easier now than later. |
|

|
|
|
|
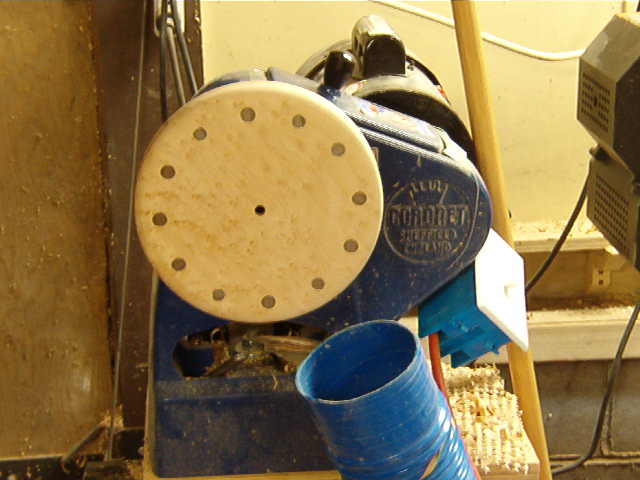
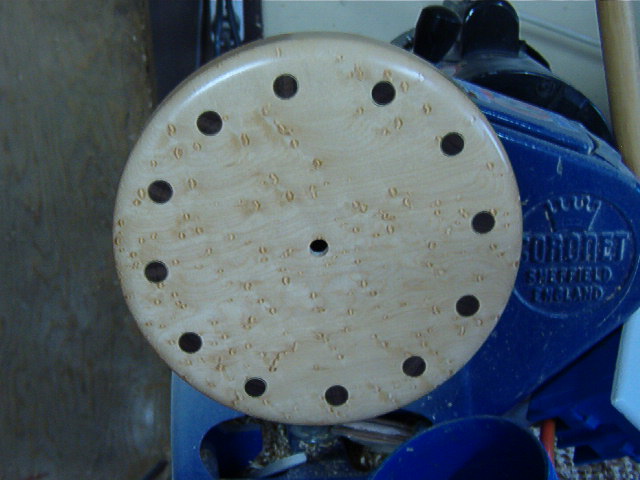
| Space 12 centers equally around the circle you have drawn on the face. You can do this with a protractor and careful measuring or you can do it the easy way. Install the clock mechanism with the hands in place. Adjust the clock so that the hands are aligned with one another and rotate the mechanism so that the hands point to where you think the top of the clock should be. Tighten the nut to hold everything in place and mark the circle for 12:00. Set the clock time until the minute hand points to the twelve, the hour hand points to 1:00. Mark and repeat until done. Remove the mechanism and drill the appropriate sized holes at each position. |
|
| I first indent each spot and drill on the drill press. A hand drill will work but be careful to drill to about 1/4" deep. The back is already sanded so I am using an old towel on the drill press table to prevent scratches. |

|
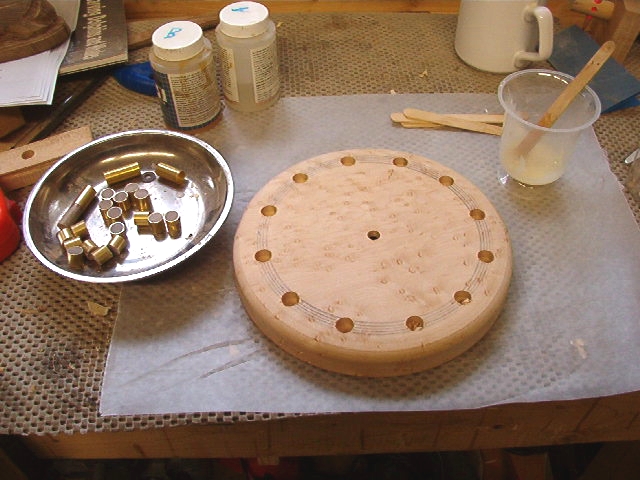
| Glue in the inserts and return the piece to the lathe. Super glue is all right but for a purpose like this I like a standard epoxy. Here I am ready to glue with epoxy mixed and a bowl of inserts ready. Coffee waits in the background. |
|

|
|
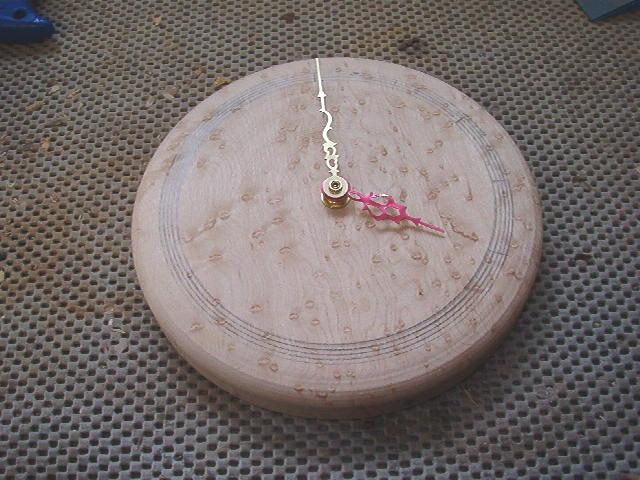
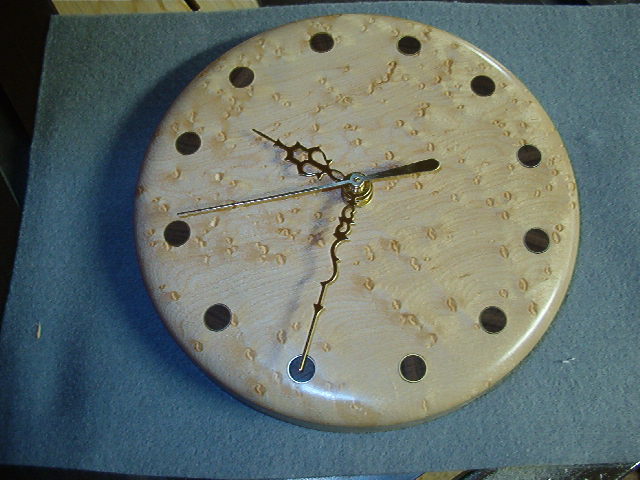
| Once the glue has dried, probably over night at least, remount it to the lathe. Using gentle cuts, trim the inserts to the clock surface. Stand back and look at the almost finished piece, decide on the profile of the rim and turn it. Just a personal preference, but I find that simple is likely better than complex. Sand the face and sides and apply your finish of choice. I finish the face while it is still mounted to the lathe and finish the back after the face has dried. |

|
|
|
|
|
| Install your mounting hardware or cut a keyhole slot with a router for wall mounting. Install the clock mechanism and a battery and set the time. It is probably time for coffee. |
|
If you make one please let me know how it turned out.
© 2015 copyright Darrell Feltmate, Around the Woods