
Use a hook tool to get out that end grain,
Make one and try it.
"Once you get it hooked, you have to land it."
|
In order to get the pictures I wanted for this page I found it easiest to video the procedures and capture the images. Please note that any video clips may take a fair amount of time to download, especially with a dial up connection. They should all play easily with Windows Media Player or any other system that plays Mpeg1 files. I have used Mpeg1 files for their small size and faster downloading, but the resolution is fair under Windows Media Player using 200% screen size as well.
|
|
| video : expectations | |
|
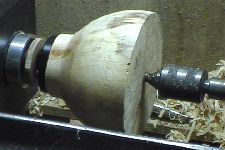
All cuts with the hook tool assume that you have turned the outside of the bowl, goblet, or whatever and are ready to turn the interior.
|
|
|
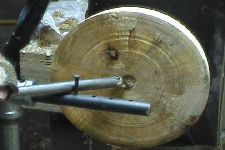
The easiest way to use the tool is with a pivot tool rest or "gate". I made mine by drilling 3/16" holes part way through a piece of 5/8" cold rolled steel rod and fastening it into a plumber's tee using a couple of 1/4" set screws at 90 degrees to each other. The holes are about 1" apart on centers but this is not critical. If I wanted it longer than about 6" I would make it out of heavier steel to reduce vibration, but this is not necessary as the tool rest banjo allows for excessive adjustment. It resides in the banjo with a piece of pipe. Masonry nails cut to an inch long serve as pivots. |
|
|
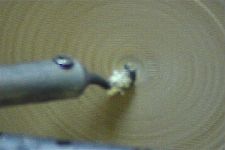
A hook tool cuts from the center out. In order to cut at the center, there are three basic approaches. The first is to use the tool itself for the center cuts. This is especially useful in shallow bowls. For this to work you need to approach the bowl just right of center where the rotation is actually upward. For a good cut the hook enters in at 45 degrees to the face of the bowl and cuts through the center, then proceeds as far as is comfortable. |
|
| video : cut to center at 45 degrees | |
|
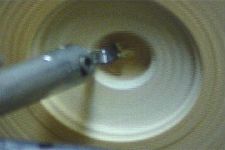
Second is to use a gouge or other tool to dimple the wood at center and then cut to the side with the hook tool. Once room is gained with the hook, the other tool cuts another recess and so on. |
|
| video : cut at tool dimple | |
|
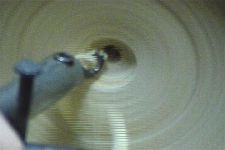
The third and most used method simply drills a hole with a standard drill to the bottom of the needed depth. This serves both as a cut starting spot for the hook and as a depth guage for the piece. |
|
| video : cut from drilled hole | |
|
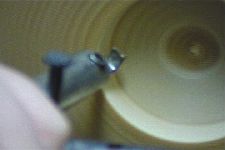
The basic cut begins in one of two fashions. The first method uses the bevel of the tool for the hook to ride on with the tool rotated so that the cutting edge does not touch the wood. The hook rides at left of center and a bit below so that the handle of the tool is elevated past the horizontal. The handle is rotated counter clockwise until the cutting edge begins to clear a shaving. Immediately the tool is pivoted left to continue cutting. |
|
| video : clockwise cut | |
|
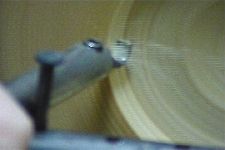
The second method rotates the tool counterclockwise so that the edge is faceing the turning wood at 90 degrees or more so as to act as a scraper if it touches the wood. Again, the hook is facing left and the tool handle is elevated so the hook is below center. The tool is rotated clockwise until the cutting edge engages a shaving and the tool is pivoted to the left, rotating the tool clock- or anticlockwise to make the shaving larger or smaller. |
|
| video : counter clockwise cut | |
|
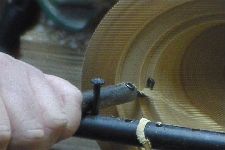
As you make the pivotal swing on the cut you will find that the grain pulls the tool into the center of the piece. Using the hook as scraper allows you to cut a small ledge that prevents the tool moving in to the center and to control a heavier cut. |
|
| video : make the ledge to ride on | |
|
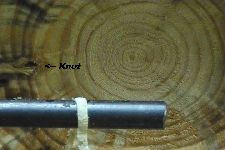
Knots and burl figure change the configuration of the wood from end grain to face grain and the catches can be spectacular. Use caution, listen for changes in the cut and rotate the tool counterclockwise for a lighter cut. In the video you can see the lathe stop as I try to take too heavy a cut in a piece of spalted juniper. |
|
| video : catch | |
|
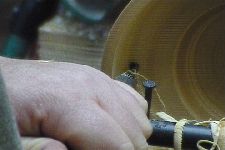
As you reach the edge of the bowl, again rotate to a scraping tool, lower the tool down and lightly shear the grooves at the edge into one another. The video demonstrates a cut to the side, moving the pivot so as to give little pressure on the cut, and a shear scrape blending the tool marks together before moving out to another cut. Alternately, you can rotate the tool to take an extremely thin shaving and thus blend the tool marks into one another, leaving a surface that needs sanding that starts with a 180 or finer paper. Good luck. |
|
| video : shear cut |
If you find this helpful please let me know.
© 2015 copyright Darrell Feltmate, Around the Woods
