Making a Hollow Form Woodturning - Page 2
Truing up the form and the turning what can not be seen.
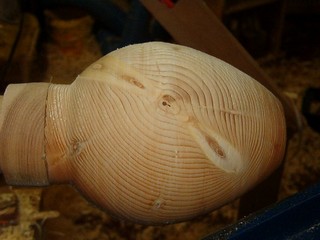
The piece is trued up and ready for sanding after being hollowed. One of the problems with describing hollowing is that there is little or nothing to see as it proceeds. It all happens inside the form. I use the straight tool to drill a small hole at center and then widen it to the size of the opening. Usually I will do this about a third of the way into the form. Then I take the 45 degree tool and gradually open the hole to about a half inch thickness of the form wall. Then back to the straight tool to work down to the bottom of the form and the 45 degree tool to bring the whole wall to a half inch. Then starting at the top I use the 45 degree tool to cut a ridge leaving a wall thickness of 1/8" to 1/4" depending on desire and type of wood. Feeling for the ridge I continue down the piece cutting in a bit at a time until the bottom is reached.
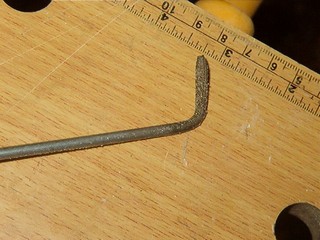
All the time you hollow patience is absolutely necessary. Stop frequently and clear the shavings and dust. I use a wire I heated and flattened on the end and inserted into a handle. I also use a blast of air from the compressor if needed but the wire puts a lot less stuff into the air.
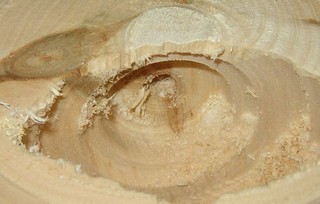
Here is a picture of the typical inside of a hollow form. In center is a hole I have drilled to the projected bottom using a 3/8" drill held by hand and using a vise grip plier as a handle. Around this is a space I have formed with the straight tool. Around that again are the cuts to the inside edge cut using the 45 degree tool. Note the little ridge that is left to feel for the next cut.
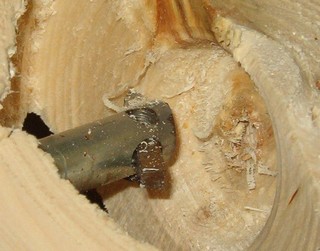
The 45 degree tool is held with the cutting edge rotated slightly below the center line. It moves from the center out, taking a little at a time. For a short video of the cutting action click here.
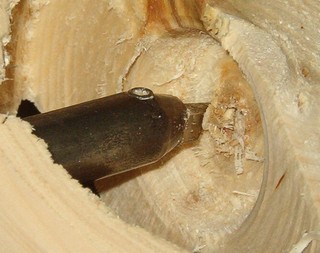
The straight tool is used straight on to the wood. Feel for the lip of the center hole and cut slightly left leaving a ridge to feel for the next cut. As this is a face grain cutting, occasionally the cut may be towards center. For a short video of the cutting action click here.
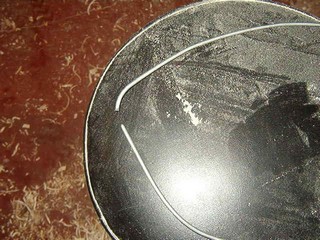
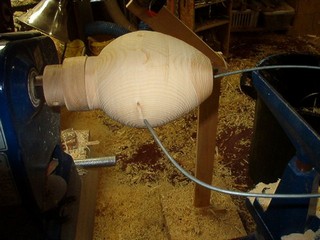
Measure the wall thickness frequently using a commercial caliper or a piece of bent wire in this shape.
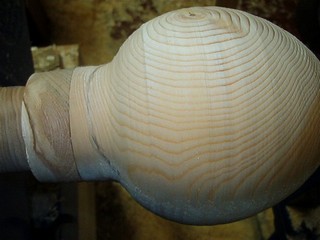
As things proceed I like to draw in the bottom of the vessel while looking straight down on the piece. It helps to know how deep to cut the inside. You may note a difference in shape here from the original form. I slipped while cutting and came through the side. This is technically known as an “oops.”
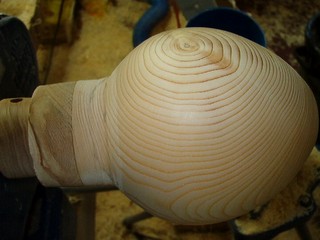
Once the piece is sanded to 2000 I make sure of the depth and mark it on the base of the piece.
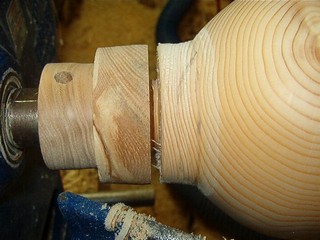
Then I remove it from the glue block by parting in with a regular parting tool until a 1" or so tenon is left. This cut produces enough heat to soften the glue and a simple pry with the parting tool separates it from the glue block.
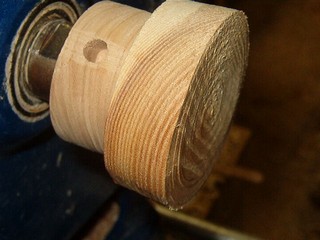
I true up the glue block for the next piece and remove it from the lathe.
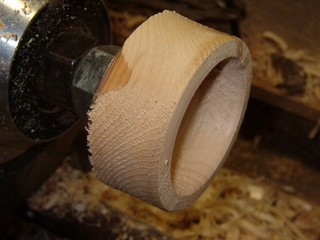
A jam chuck is prepared for the lathe. Here a piece of scrap has been hollowed to accommodate the top of the piece.
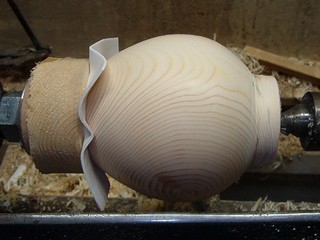
I insert a piece of “fun foam” to protect the wood and bring up the tail stock to hold it in place. Take as much time as needed to get the piece centered and then tighten the tail stock just enough to hold the work
.
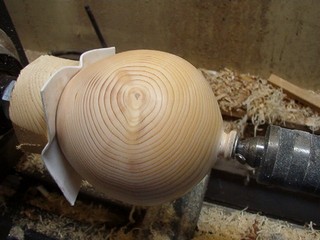
Using a 1/4" or 3/16" Oland I shape the bottom, noting the line for the depth of the piece and not wanting to go through.
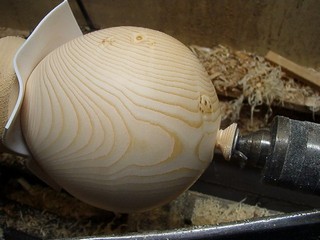
The bottom is sanded and the tenon reduced and parted off. This can be a bit nerve wracking and requires holding the piece in place with one hand while parting with the other. You may wish to remove the piece and cut off the stem.
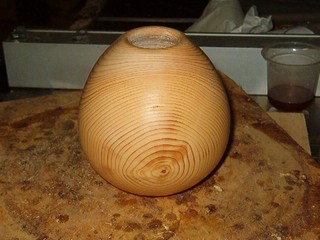
The first coat of finish is applied and the base will be final sanded later.


