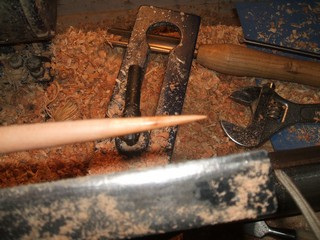
Sand and finish the tip NOW, There is no chance to come back later because the stem will be too fragile. The finish off the chisel is likely good enough, but if not then sand to 400 and apply a turner's polish to the final inch.

Sand and finish the tip NOW, There is no chance to come back later because the stem will be too fragile. The finish off the chisel is likely good enough, but if not then sand to 400 and apply a turner's polish to the final inch.
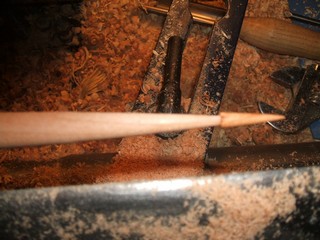
Do a straight in cut about 1/2" the tip to define the end of the icicle and taper to it. Try to make the end of the taper as small as possible or at least as small as leaves you comfortable. 1/8" is certainly doable.
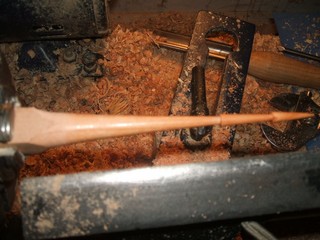
Repeat the process for triangle number three. I make each triangle a little longer and usually go for four. I have tried other numbers and rounded here and there but I keep coming back to four and a straight topped section. It just looks good to me.
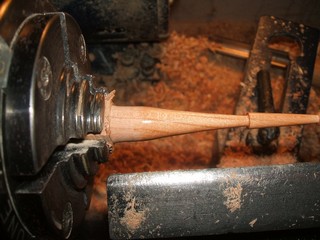
Stop the last section about 3/8" to 1/2" from the chuck jaws. This will give enough room to provide a head to the icicle. There is a temptation here to leave the sanding and finishing of the icicle until the head is finished. I prefer to sand and finish now to avoid an accident at the end. Actually I am not sanding but the skews I am using are thin and sharp.
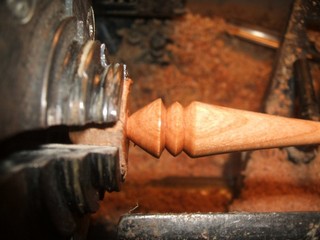
I usually just leave a bead and then taper the head to the chuck, leaving about 1/8" be parted off and have enough space to get an eye in there for a hanger. There is not much waste here. Once again, sand and finish.