For most of us wood turning bowls begins by first roughing them out of green wood, sealing to prevent rapid drying along with cracking and splitting, remounting and final turning, sanding and finishing. This is simply how I rough a bowl. It is a little unorthodox but simple and it requires no fancy jigs or chucks. I just mount the blank between centers and go for it.
Rough Turning a Green Wood Bowl Blank
For many wood turners the greatest pleasure at the lathe is cutting great shavings while roughing a green wood blank.
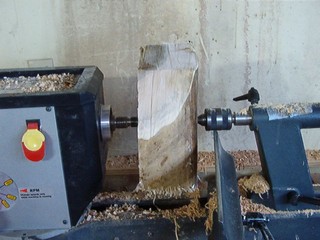
So start by mounting the blank between centers. It may take some jiggling the piece around to get the top of the bowl as perpendicular to the lathe bed as possibe and the bottom well centered on the tail center, but worth the time. This also allows me to adjust to the best balance or figure and corrections are possible even after starting to turn just by relaxing the tailstock and moving the wood a bit. O that streak on the wall behind the lathe? Sap from turning green wood.
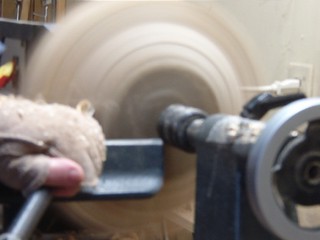
Note that the bottom is facing the tail stock. I start to turn the outside of the form moving from the bottom to the top. I like to “nibble,” as Peter Child used to call it, at the form in small sweeping motions until I work bottom to top, rounding down the form. All my hands have to do is guide the tool, all pressure is from the hip. My tool of choice here is a 3/8" Oland tool although a 5/8" bowl gouge would be fine or your other favorite bowl gouge
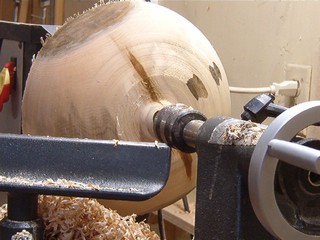
I continue until the outside is roughed out. I am not concerned with a fine finish, this is after all a rough turning. The bottom is flattened and a tenon left about 1 1/2" in diameter. This is not for a chuck, just for a place to put the centers as we move the blank.
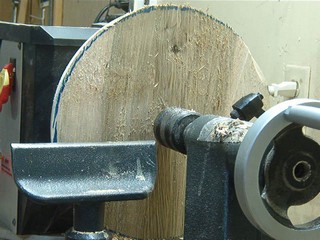
Now for the trick to making this easy. I take the blank from between the centers leaving center indentations from the tail and spur centers, obviously. The spur center goes where the tail center was and the tail center goes where the spur center was. In other words the piece is reversed in the lathe but still true to center becasue of the existing points of reference. Now the inside can be turned away without the headstock being in the way.
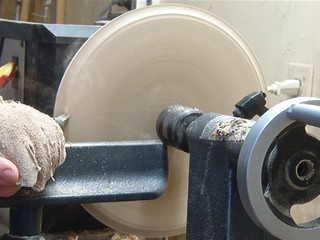
Now the top of the bowl is flattened using the long wings of the Oland tool or for that matter a bowl gouge. I work form the outside in in fairly broad sweeps. Be sure to remove any pith that remains in the piece . This is the first place that cracks start and it has to go.
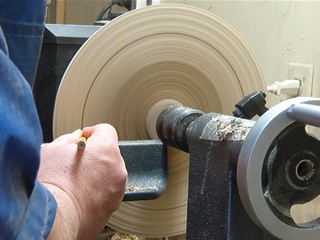
While the bowl is turning I take a pencil and mark the thickness where I intend to turn the bowl. This is really for demonstartion purposes as I usually just turn to what looks right. You want to leave at least a 10% wall. In other words a 10" bowl blank needs at least a 1" wall and a 15" blank a 1½" wall and so on. This is approximate and varies by wood species and for that matter for individual pieces of wood. Relax and leave a thick wall. It slows drying, allows for movement, and helps prevent cracks. I tend to leave extra thickness for design purposes later.
