|
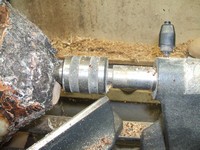
Without removing the wood, apply pressure to the tail stock towards the headstock and release the hold on the ways. Push the tailstock towards the headstock while turning the crank and when the tail center is where you want it, tighten it down. I find it gives, if not more control, at least the feeling of more control. It also allows for further tightening if necessary.
|
|
|
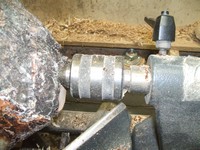
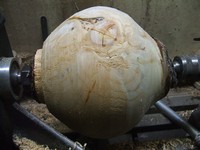
The roughing has begun to develop some of the color and pattern in the wood. There are also some very hard sap pockets that give an amber color to the burl and some areas of bark inclusion that will reveal a chocolate brown when the finish hits them. Much of the bark is loose and will likely need to be removed entirely. These are all design considerations that will be dealt with as the piece evolves.
|
|
|
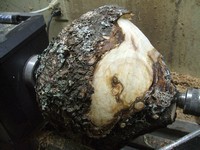
With some of the bark removed the color is evident from this view and the chocolate brown under layers are evident. There is an underlying shape to the burl with a small neck and a larger body. I am beginning to think of an inward curve to the neck moving to a full body and a smaller base.
|
|
|
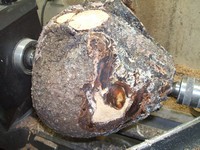
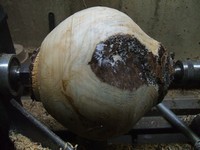
As the bark is removed one of the vagaries of wood raises its head. One end of branch began to crack as I watched. There must have been a lot of tension in this end for some reason. Wood moves and moves unexpectedly. I used some CA on the cracks as well as on others that were revealed with the loss of bark.
|
|
|
Part of the way around, there was an incurve where the under layer of bark will become chocolate brown when the finish hits it. At least it will if I leave enough for emphasis while removing enough surrounding wood so that the incurve is not removed from the inside by a thin wall.
|
|
|
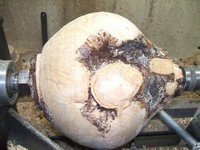
The other end of the branch has no cracks visible but is surrounded by bark inclusions and depressions in the burl surface. The strength of the area will be determined by the thickness of the wall balanced by the need for connections between the raised areas.
|
|
|
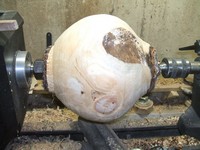
At this point I used a brass wire brush to remove loose bits of bark and then used the air hose to clean down the surface.
|
|
|
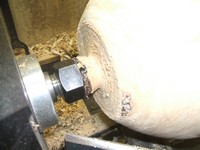
It was time to consider the base. I decided that I did not trust the strength of the wood to hold screws for a faceplate, nor would it be strong enough for a chuck. Also, I wished to use the full depth of the wood so I opted for a faceplate and glue block. To start, I began to turn the bottom flat and reduce the center tenon.
|
|

