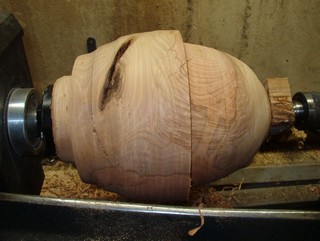
A few passes brings down the top. I find that one of the problems turners and especially new turners have is the inability to remove enough wood. This results in too many fat forms that would look better if a bit smaller. (Leave my mirror out of this conversation.)
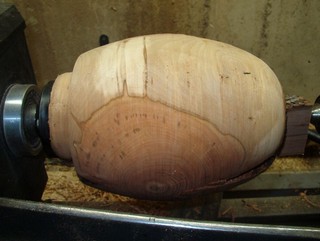
As I then bring the bottom in line I start to have some more design considerations. This oval form that is emerging has revealed some curl that will best be served with a gradual curve. I decide to tighten the base a little and see.
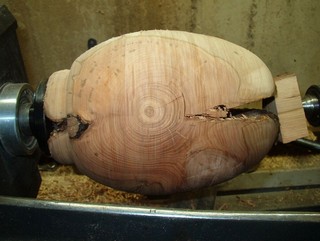
I like it so I refine the lines a little and go for coffee. There is still time to change things but it is a lot easier to take wood off than to put it back on. Somewhere in every piece is a fine line between taking off enough wood and leaving the best. Staring while drinking a cup of coffee helps a lot. Rotate the lathe a bit to look at the piece from different angles. Do not let the wood seduce you with its grain, but it is part of the final form.
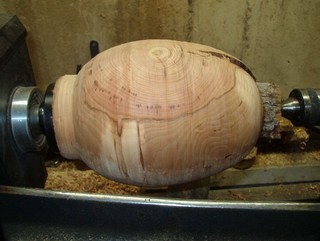
Finally I decided to refine the oval and give it a couple of passes with the shear scrapers to get a good look at it. I like it.
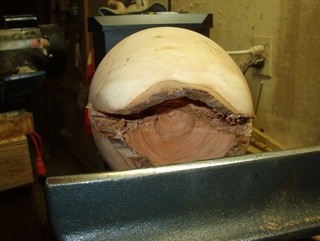
So I decided to hollow a little. It was awkward with the lathe in this position so I moved the headstock about thirty degrees and got out the hollowers with the arm bracers.
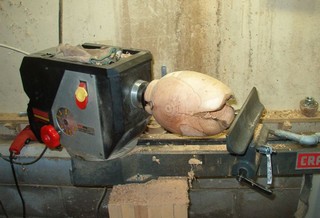
This stuff is hard and slow going but the tools are cutting well. I see from the photo that it is also time to dress the tool rest. It looks like I have been hollowing a lot in this position.


