
When my youngest daughter was about 9 years old I made her a set of carving tools and we began to carve together in the workshop. As she got older she got a travelling bug but it was hard to carry a carving set with her around the world so I decided to make one that would take interchangable cutting tools. Even if you have never worked a forge before this is not hard to do, it is a fun skill to pick up, and the cost is negligible. Have fun with it.

One of the things that makes this so easy is the availability of high carbon steel masonry nails. You can find them at almost any building supply or hardware store. In this case I am using 4" nails which are the longest I have found locally although they may be sold longer in your locale. Check the diameter of the nails using a caliper or by drilling an approximate sized hole in a peice of scrap wood and seeing if it fits with a slip fit. You do not want a hole that the tool needs to be forced into not one that lets if wobble around. My calipers here indicate that 3/16" is about right.

Now that I have a diameter, I drill a hole 1" deep into a 1/2" diameter rod of cold rolled steel. This will eventually become the insert for the tools. Check to make sure the nail is a good fit and either drill the hole a bit larger with the next sized bit or start over with a smaller drill.

Then I cut the rod to 1" long. I used an agle grinder but a hacksaw would work as well.
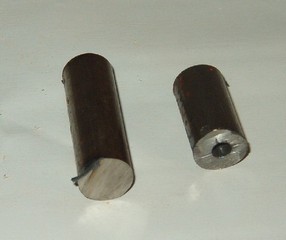
At the same time I cut another section to 1 1/2" long. If you are using an angle grinder for the cut, they will be hot. Take your time and be careful.

Choosing a piece of hardwood for the handle, in this case bird's eye maple, I drilled a 1/2” diameter hole in the end to a depth of 1 1/8".


