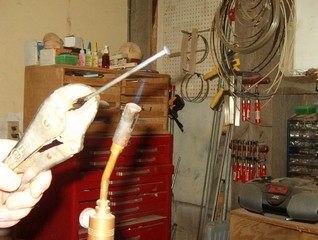
Each tool begins its life as one of those nails. Regular nails will not do. It must be a masonry nail because of the high carbon content. Hold the pointed end of the nail in a pair of pliers, in my case vice grips, and heat the other ennd with a propane torch. Fire in the workshop is your responsibility but simple care works well. Propane will give enough heat for metal this small to reach red hot, which we want, but MAPP gas is a bit hotter and faster. I am using propane in the typical home owner's torch..

Heat the end of the nail to red hot and hammer it on an anvil or suitable piece of steel to the approximate shape of the cutter wanted. Return to heat as needed. for more information look at the section on making hook tools When getting the shape right, a grinder is your friend.

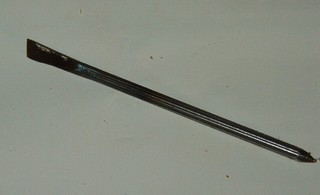
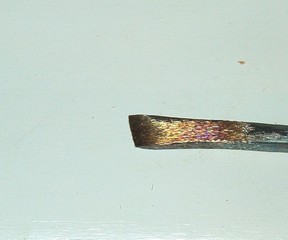
Once shaped the business end of the carving tool needs to be hardened and tempered. To harden it just heat the end red hot once more and plunge it into a bucket of water. Sand paper it to a shine so you can easily see a color change as it is tempered. To temper it, lightly touch it in the torch flame and then remove it. Repeat, repeat, repeat... until the oxidation on the steel goes to a bronze or straw color. Immediately plunge it into the bucket of water. If it has gone through the starw to a grey or blue color, just repeat the process. Sharpen the edge. Repeat for the other tools you want to make.

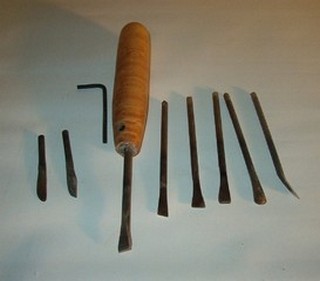
If you do not need a travelling set it is trivial for a woodturner to make a set of handles for the tools. Here is the set for my daughter.with, from left to right,
- a couple of knives
- two chisels, one in the handle
- a fish tail chisel
- a gouge
- a bent chisel


