
With the bowl off the lathe, rap the inner tnnon to remove it and chisel off the bottom tenon. It should only take a quick stroke with a sharp bench chisel.
With the bowl off the lathe, rap the inner tnnon to remove it and chisel off the bottom tenon. It should only take a quick stroke with a sharp bench chisel.

Hot glue a glue block to the bottom of the bowl to replace it on the lathe. You can mount a piece of scrap to a facepate or use a threaded wooden block. Either do fine. In addition, you can let the bowl blank rest and dry for a few months with some Anchorseal on the end grain, but I find that this piece of wood is fairly dry and the elongation of the wood would take place along the shape of the bowl anyway so I often go ahead and finish these bowls before they are completely dried. Your lileage may vary and opinions of the practice certainly do.

Attach the bowl blank to the wood lathe. Here I am using my bowl lathe because it is easier to take the pictures and besides, this is the sort of thing it is designed for.

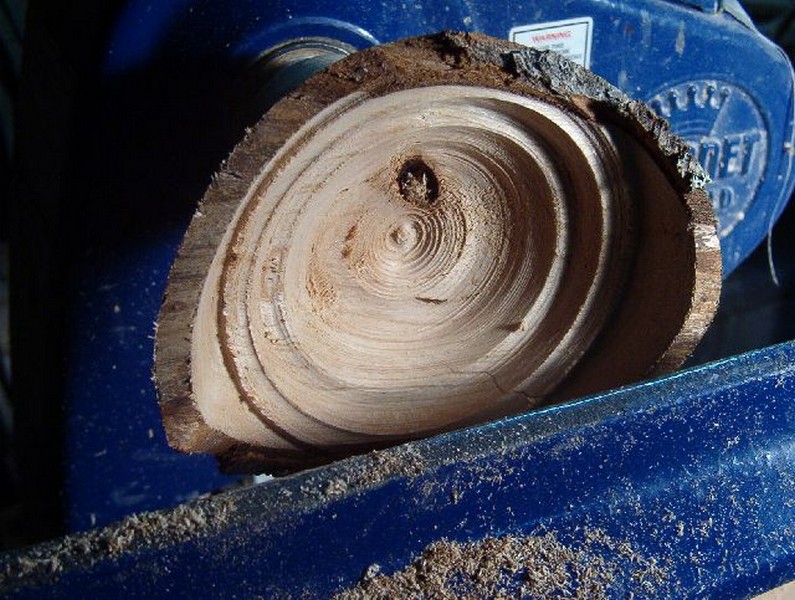
A few cracks and a couple of knots are evident in the blank so I put some CA on them and let it harden

The other end has similar problems and I will glue this as well.
As I begin my cuts into the interior, I contemplate the outer rim. Keeping the bark on these bowls is a bit of a crap shoot. It depends on the cuts themselves, at what time of the year the tree was cut down, the type of wood, and sometimes shear blind luck. In a case like this where some of the bark is missing I tend to snap off the rest. Your desire may vary. It is, after all, your bowl.