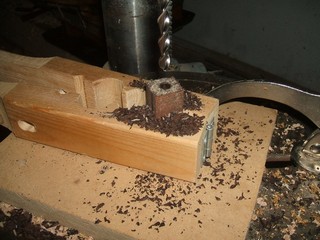
Remember to clear the shavings after each drilling. It only takes a second and allows for better centering and accurate drilling.

Remember to clear the shavings after each drilling. It only takes a second and allows for better centering and accurate drilling.
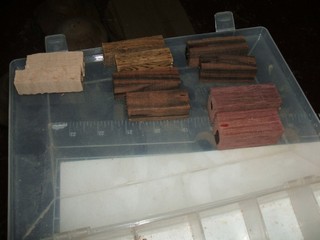
The tubes are glued in place. I use either medium CA (super glue) or polyurethane glue depending on my time frame. While I prefer the polyurethane, CA works well and holds in a hurry.
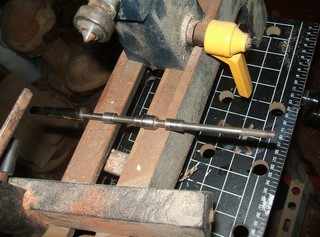
Here on the lathe bed is the mandrel and bushings for the European pen. There is a drill driver to fit the Morse taper of the lathe, the first bushing, a stepped bushing, and the final bushing. A nut to hold them on the mandrel.
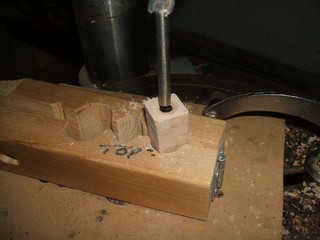
It is necessary that the tubes mount squarely to each of the bushings and later to each of the pen parts that will be press fit into place. To do this I use a pen squaring device that looks and acts like a counterbore with a long center. Putting the squaring device in the drill press and the blank in the drilling jig I square the blank
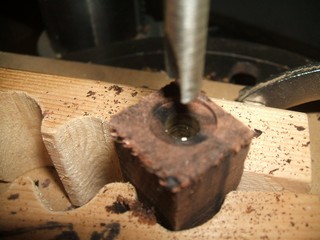
until the edge of the brass tube is evident in the end of the blank. It shows up better in this rosewood than it did in the maple.
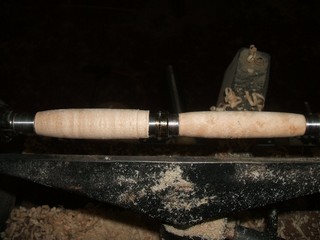
Then they are turned round to match the bushings. Use the large part of the center bushing for the diameter of the short end.