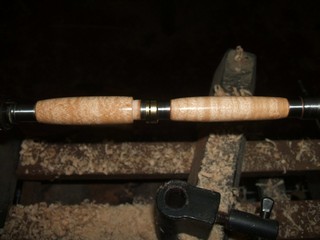
Sand to 2000 and apply turner's polish. I usually wash down the balnk with a 50/50 mixture of vegetable and mineral oils to clean off any sanding grit or residue from the bushings which may be hit with the sand paper. It does not seem to affect the turner's polish which will itself contain oils. The tenon is cut for the center band and the edges touched with turner's polish.
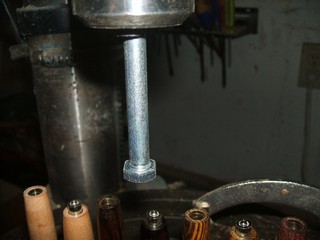
A bolt in the head of the drill press turns it into an easily controlled light arbor press for pushing the pen parts home. First the threaded insert for the end cap is inserted in the short section of the pen.
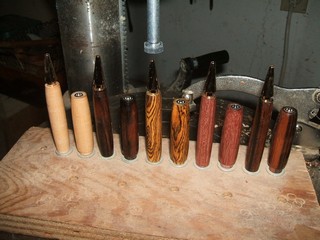
Next the pen tips are inserted in the long tubes. The pen parts are mounted on a simple assembling jig in their repective pairs.
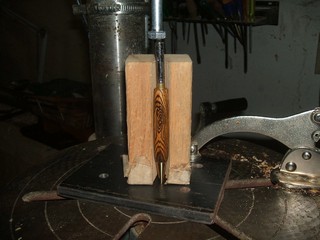
Then the mechanisms for adjusting the refill position using a simple measuring jig.
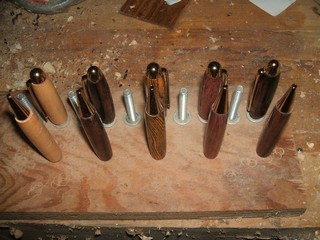
As each is positioned it is placed in the holding hole in front of its respective mate. While this is not so important for these disparate varieties of wood it is necessary for grain match when turning several pens of the same wood.
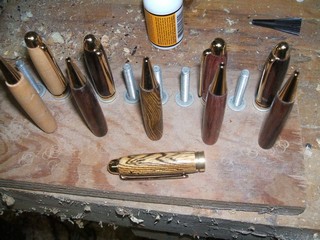
The center band is glued into place.
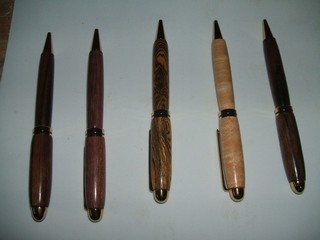
and the refill is inserted and the pen is assembled.
For a better or at least different idea of turning this style of pen, page 4 of this explanation is a set of short videos I have taken of the process. It especially helps in fitting the band to the tenon.


