Around the Woods

Beginner's Project: Making an Awl - Page 5

Parting off and inserting the nail

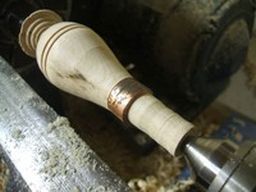
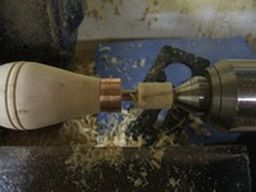
Flow a smooth cut down the slope of the handle and along the ferrule. 	Flow a smooth cut down the slope of the handle and along the ferrule.
Part in on the tail stock end to about 1/8" or where ever you are comfortable and part off from the other end. Cut off the waste. 	Part in on the tail stock end to about 1/8"  and part off from the other end.
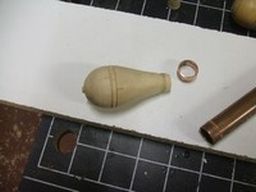
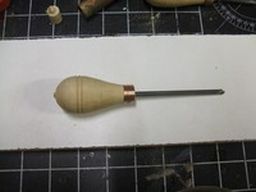
Now we have the handle and ferrule ready for assembly. 	Now we have the handle and ferrule ready for assembly.
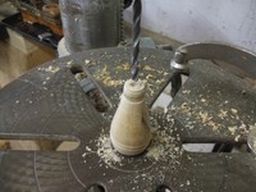
Over at the drill press the handle is drilled with a hole the size of the nail to be inserted, in this case 3/16". A depth of 3/4" is sufficient. 	Over at the drill press the handle is drilled with a hole the size of the nail to be inserted
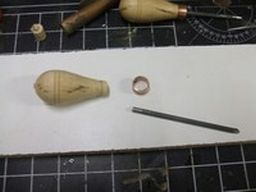
The head of the nail is removed by grinding or cutting in some fashion. 	The head of the nail is removed by grinding or cutting in some fashion.
The ferrule and nail are mounted and held in place with a drop or two of medium CA. The glue is likely not necessary but it can not hurt. 	The ferrule and nail are mounted and held in place with a drop or two of medium CA.


If you have any questions or comments or would like to let me see an awl you have made, let me know over at Round Opinons or send me an email Thanks.


Wood Turning Home What's New Wood Turning Contents wood turning tipswood turning techniqueswood turning projects: beginnerwood turning projects: intermediatewood turning projects: advancedwork in progresswood turning tools to makewood turning accessories to makewood turning gallerywood turning lathe maintenancelinksWood Turning Course 1919other interesting things Wood Turning Discussion ,   Our Privacy Policy


© 2015 copyright Darrell Feltmate, Around the Woods
"doing you a good turn today"