Advanced Woodturning Project - Two Raised Arm Birch Vase - Page 8
Time to sand the exterior and get the first coats of finish on the vase.
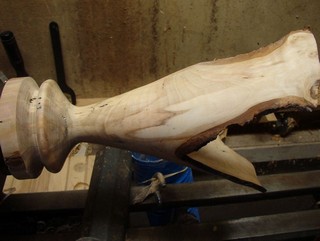
A little more refining and it will be time to sand and part this off. Small cuts with a hand held shearing scraper can make a huge difference in the final appearance.
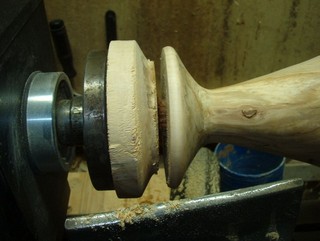
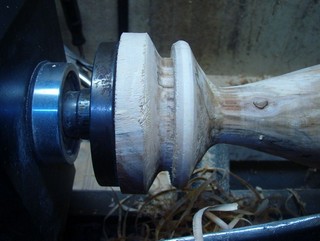
After a quick shear scrape and some sanding I part in far enough to get a good look at the bottom curves.
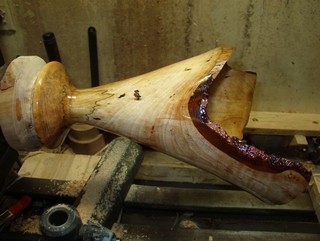
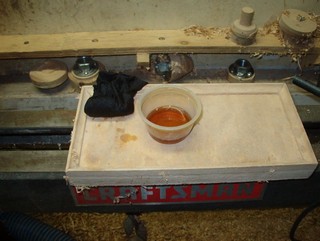
Then I begin to finish the piece. I am using varnish thinned with paint thinner, about 3 parts varnish to 1 of thinner. It is put on with a rag and left to sit for a few minutes. Any wet areas are covered with more finish. After 5 minutes I rub down with paper towel. This is repeated after 15 mnutes and then once again. The whole process can be repeated off the lathe over the next couple of weeks if desired.
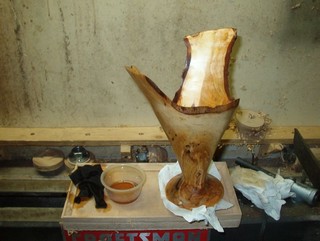
The vase is separated from the base and allowed to stand and let the finish harden to the point where dust sticking is not a problem.

