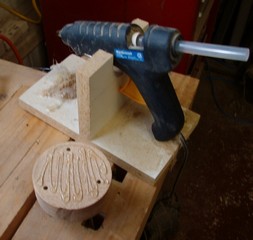
Once the bowl is dried, in about 3 to six months, or when I get around to it, I will finish turn the bowl. To do so I mount block of scrap wood to a face plate, round it off and flatten the face to make a glue block. Hot glue from a glue gun is applied to the block and it is pressed to the base of the bowl, centering it as well as possible. Then it is mounted to the lathe, finish turned, sanded and finished.
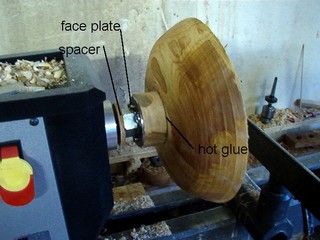
Here is an ash bowl about 12 inches in diameter, dried for about a year and remounted. This is a face plate a friend made for me and a spacer is needed to allow me to put it solidly on the lathe.
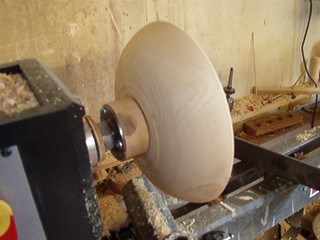
With the bowl mounted I was easily able to finish turn it at 800rpm. Once the inside and outside of the bowl are finish turned it is time to sand it. This is a full blown technique in its own right and best looked at over here.
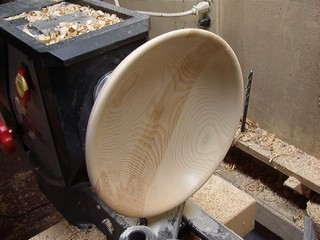
I like to get a coat of finish on the wood before I get it off the lathe. Most finishes help to prevent fingerprints from the oil in my hands affecting work and make it easier to keep the piece dusted for the next coat. Besides I like to look at the wood with the finish applied. I am using a mix of two parts varnish to one part thinner. A lot of companies will call this a Danish oil for some reason.
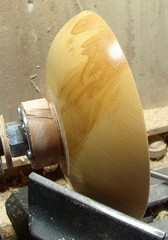
Here we have proof that cameras do strange things some times. I assure you that this is the same finish on the outside as on the inside. Only the camera angle has changed for sure. Once the finish is on I like to dry it on the lathe as much as possible by rubbing it as the lathe spins. At the same time I do not trust that the finish has cured enough for a next coat but just enough to allow me to handle it lightly. Paranoia or fact I am not sure but it has worked for a few hundred bowls.
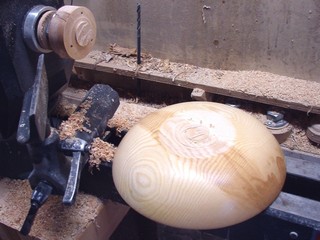
Ah! Now the camera demonstrates that the angle of shot or lighting or whatever was the problem with the shading of the previous picture as you see the bowl on the lathe bed, bottom up. To remove it from the glue block I use a parting tool to cut into the glue block, not the bowl, about an inch deep. This heats the glue to the point that a simple lever with the tool shaft and the bowl comes off, leaving a simple sanding job to clean up the bottom.
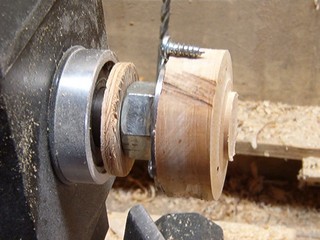
Just a quick tip here along with that parting cut for removing a glue block. To prevent problems as to where that cut may go I keep a screw handy to measure how deep I have placed the ones that hold the glue block to the faceplate. It surely does help keep down the grinding rate on parting tools. I notice I still have room to reface this glue block and get another bowl done on it.


