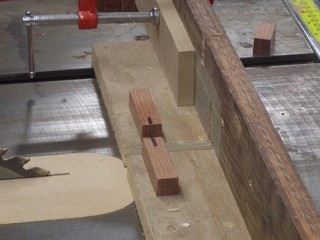
The two blanks are cut on the table saw. In this case they are the same length. The second one needs to be cut to length. If you make your own blanks and intend for them to be used for a particular pen style, they can be cut so that only one time through the table saw cuts both to the right length.
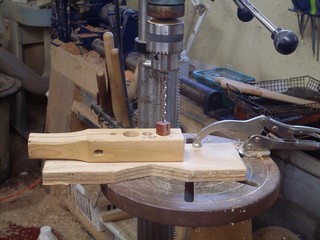
At the drill press the blanks are drilled through the center using a 7mm drill bit. There are various types on the market, but I like this one from Berea Hardwoods It is an industrial bit with parabolic flutes and I have found it to be long wearing and good cutter in any material I have used so far. The "J" size is a hair over 7mm. It is surely available from other suppliers but Berea is one I come back to.
The blank needs something to hold it vertical and it needs a backing to keep the drill from blowing out the bottom and cracking the wood. I hold it in an easily made jig and drill about a half inch at a time, backing out to clear the flutes and prevent cracking.
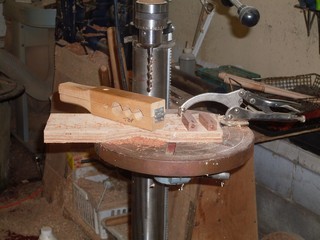
The jig is made from a length of 2"x2" softwood. I drew a center line down the top, eased the edges for a nicer handle, and drilled 5/8" and 3/4" holes in it at the drill press. Then I cut along the center line at the bandsaw and added a hinge at the end. Later I added a 1/2" and 1/4" hole for other uses. It works well to hold the pen blanks for drilling. You could also drill them on the lathe using a Jacobs chuck to hold the drill and a four jaw chuck to hold the blank. I have seen turners hold the blank in one hand and use a hand drill in the other, but the very thought scares me half to death. It looks to me like a great way to put a drill bit through your hand.
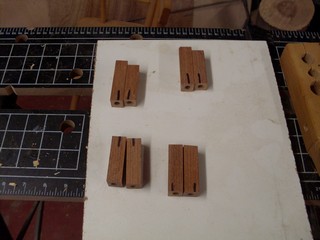
Here are four sets of drilled blanks waiting to be used. I note that they have the same 1-line registration lines on them which can be a recipe for confusion, but frankly I am used to keeping them separate and with ipe the grain is so regular that it is easy to mix blanks without messing up grain direction. Note that I am working on a piece of melmine covered shelving scrap. Glue does not stick well to it and it makes a wonderful work surface for gluing up pens.
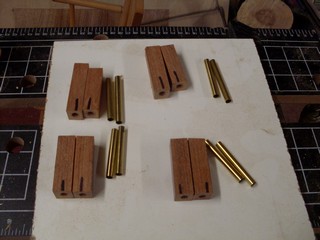
Each set of blanks is assigned its brass tubes for gluing. You may wisg to sand the outside of the tubes for better gluing adhesion. I have not found this necessary but opinions vary and I am in the minority in this. I also tend to use polyurethane glues while others prefer CA. It can not hurt and it only takes a minute.
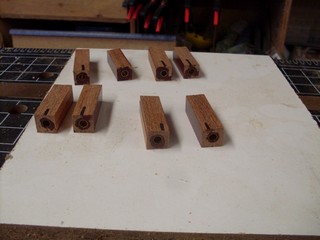
The important thing about guing the tubes is to get the glue over the surface of the tube and over the surface of the interior of the blank. We assume that the tube just fits the blank because we followed the supplier's advice in the size of the drill bit. I just smear a line of polyurethane glue like Gorilla Glue down the side of the tube and twist it 3/4 of the way into the blank at the center cut, remove the tube and flip it end over end and push it completely into the blank. To get it flush with the end of the blank I push it hard against the end of the melmine shelf. Note here that the ends of the tubes are flush with the center of the proposed pen. Also note that there was plenty of glue and it is smeared over the end of the blank while pushing it flush.


