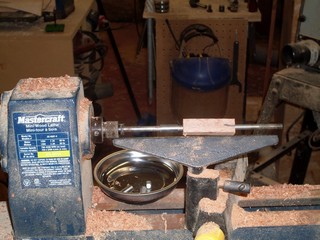
The elements to drive the pen for turning need to be mounted to the lathe in order. First the driver for the mandrel is inserted into the Morse taper of the headstock and then the mandrel to the driver. Next comes a bushing followed by the first pen blank. In the case of the slimline all the bushings are identical and it does not matter which one goes on first. Some other styles of pen will have different sized bushings to accomodate different diameters of the pen at tip center and back end. The blank should be mounted with the center markings toward the tailstock.
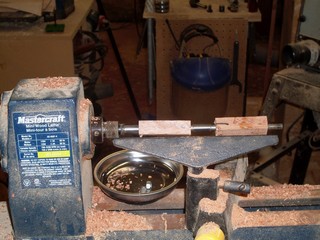
These are folowed by another bushing and the other pen blank, center markings this time toward the head stock.
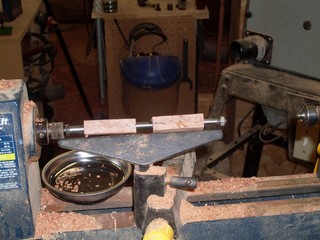
Finally these are followed by the last bushing and the nut that holds it all together on the mandrel. For now, just snug the nut up finger tight.
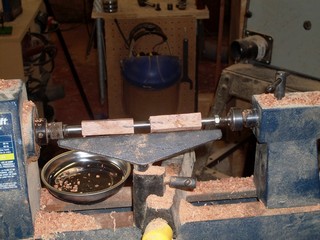
Now the tailstock is brought up to the mandrel. There is a dimple in the end of the mandrel for the tailstock to fit into. Once the tailstock is locked down and tightened the nut can be also be tightened. How tight to make the nut is one of those arguable areas for pen turners. I like to get it tight enough so that the blanks do not spin when tools are used on them but not so tight as to bend the mandrel. For now, just get it firm and adjust as needed.
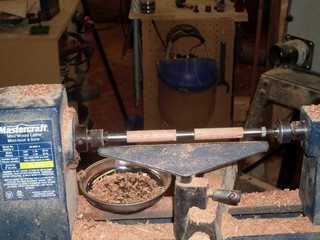
Now comes the moment you have been waiting for. It is time to do some turning. All the rest is preparation and later assembly. For a traditional slimline pen, use a roughing gouge to turn the blanks almost to the size of the bushings and then finish with a skew. Do NOT turn smaller than the bushings. It will leave an unpleasant feeling when writing with the pen. At first, what you may want to do is turn the blank a hair larger than the bushings and then sand to the proper diameter. This will almost certainly cause the bushings to be sanded as well and wear them faster but even so they should be good for one or two hundred pens and slimline bushings are cheap so it is not a bad idea.
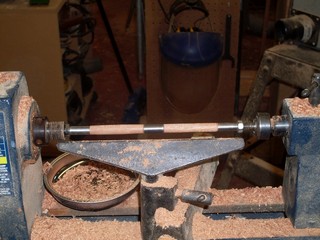
Now is the time to sand the pens. I like to use sheets of sandpaper cut into quarters and folded three times. This makes a stiff enough pad for easy work. Sand with the lathe going about 600rpm or so. You should be able to start with 120 grit or better and I like to go up to 2000. Every couple of grits stop the lathe and sand along the grain to remove the last scratches of the last grit of paper.
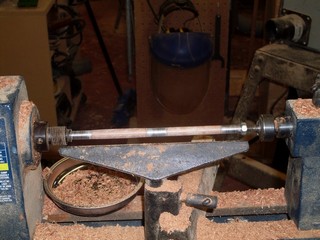
This will give you an almost finished appearance that will still change dramatically when the finish is applied.


