Once the pen blanks are turned and sanded it is time to apply a finish. This is a great time to start a fight. There are a myriad of ways to finish a pen and every turner is convinced his or hers is the best. Some of them are:
- turner's polish, either home made or supplier bought
- wax
- lacquer, usually from a spray can but it could be using a gun
- CA
- varnish
I am not going into all the pros and cons but for this example I will use turner's polish. To make it I put some shellac flakes in the bottom of a clean bottle, cover them with methyl hydrate and shake. Over about eight hours it sissolves. I note the amount of shellac and add the same amount of double boiled linseed oil and of methyl hydrate and shake them all together. Periodically I shake it as I use it.
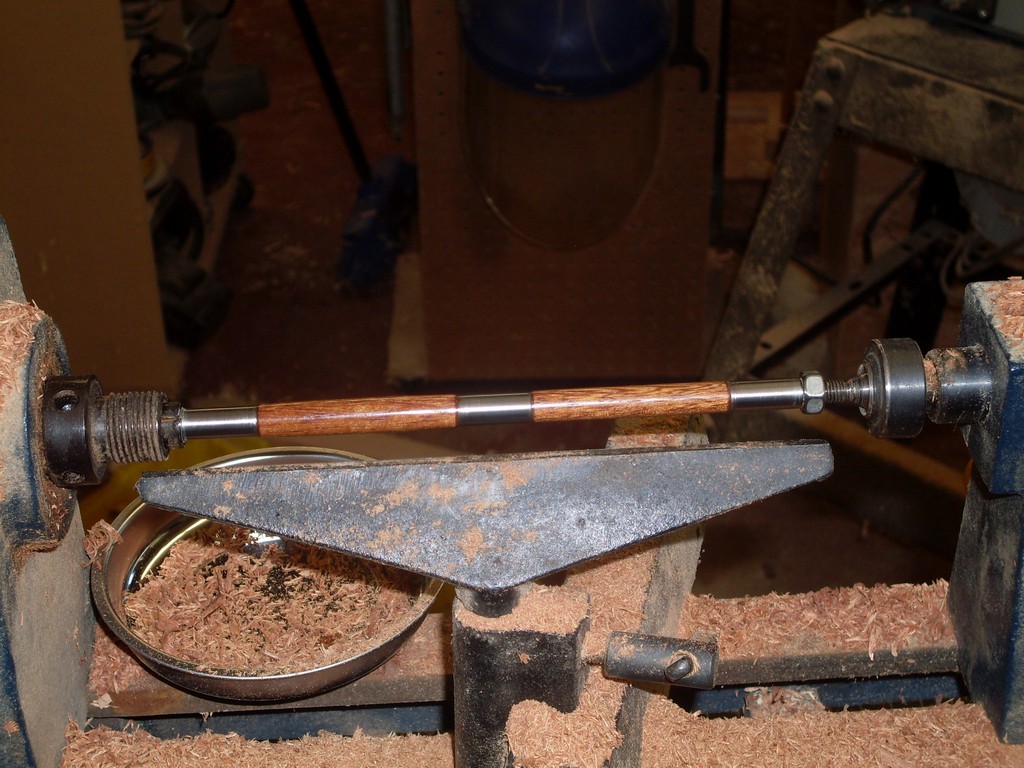
To start I clean the blanks as the lathe spins with a piece of toilet tissue and mineral oil. This is highly controversial but it works for me. These blanks on the lathe have just been cleaned and the excess dried by fast turning while rubbing with dry toilet tissue. If toilet tissue catches in a fast turning lathe, it rips. If cloth catches on a fast moving lathe it pulls your hand in. Your choice what to use.
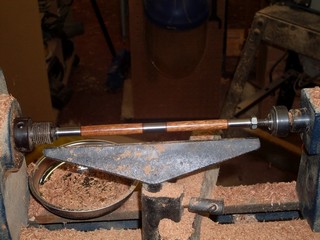
Now I apply the turner's polish. To do that I put a little on a piece of toilet tissue and rub it up and down the blank as the lathe turns at about 400 rpm. Then I increase the speed of the lathe and the pressure on the blank. It gets hot fast and the finish is basically cured and ready to go, or so I am told. I feel, and it is only impression without proof, that the outside of the finish is cured and the inside cures over time. In any case, it is ready to proceed to work on the pen.

This is a jig I made about 20 eyars ago. It is just 10 1/4" bolts sticking up out of a piece of scrap plywoood with some washers for sturdiness. There are five holes partially drilled through the plywood, one in front of each pair of bolts. It will make more sense as I use it. This is not a necessary jig but it sure is useful considering I seldom make fewer than 25 pens in a batch.

As each set of blanks comes from the lathe, they are placed on the assembly jig with the center of the pen down. This will keep the grain consistent through the pen. These are all turned from slimline kits with the one at the right being the traditional slimline shape.

Each blank gets its needed pen parts. I have the jig set so that the blank on the left of each pair gets the pen nib and the right blank gets the clip and finial. A twist mechanism goes in each of the five holes. I like to put the center band on later but one could be placed on each mechanism.

The color is significantly better on this picture with the jig at the drill press. People go to great lengths to make or buy presses to push the pen parts together. While I have used vises and clamps to good effect in the past, I find that nothing beats a drill press. I chuck a bolt in the machine and leave it turned off. I know that is obvious but...