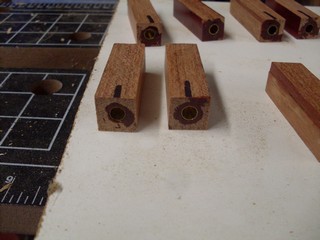
This close up of the end shows how precise the makers of the kits make the pieces. There is a good and persistant fit of the brass rods to the drilled hole. This is important as the two most used glue types for pen making are
CA and polyurethane. Both need a good fit for a sure adhesive bond. Polyurethane glues foam up to fill gaps but the foam has virtually no strength. It can not be depended upon for a good bond unless it has a precise fit.
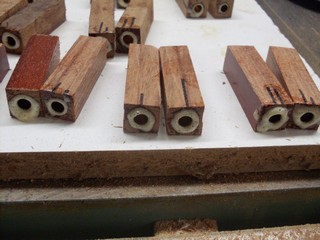
I generally set up blanks in the evening or at the end of the day. After a night spent drying, the ends look like this. Anywhere the urethane glue has been exposed to the air, there is hardened faom. I will disappear as the work goes on.
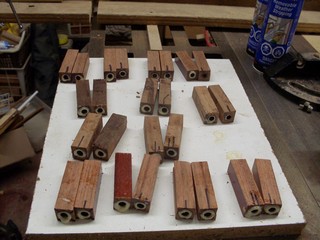
This batch of pen blanks shows that they are ready for the next step in the process.
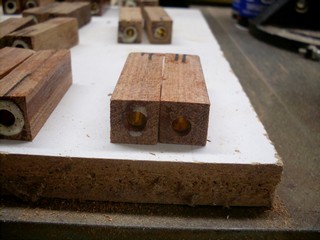
A close look at the other end of one set of blanks shows that the tube has stopped well before the end of the blank. This is the distance allowed for when leaving room for drilling and preventing blow out. This will be trimmed away.
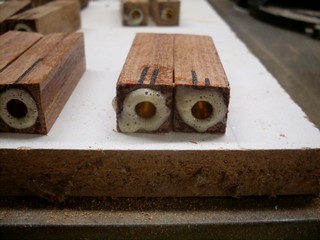
The center of the pen is the spot where it is intended to show the grain moving from top to bottom. This foam will be trimmed away and the brass tubes just barely exposed before the pen is put together.
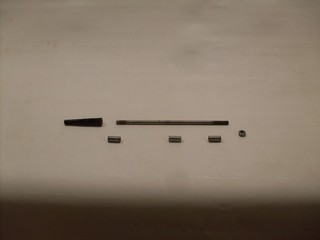
The next stage is to prepare the blanks for mounting on the wood lathe and for this you need a mandrel and bushing set up. Here we see in order from left to right, a #1 Morse taper collet driver, a mandrel to fit the brass tubes, three bushings for a slimline pen, and a nut to hold it all together. Something is needed to hold the mandrel on the lathe. I like a collet chuck and I like to turn on my lathe with a #1 Morse taper. If your lathe had a #2 Morse taper you need to buy the collet accordingly. Some people use tapered inserts with a screw that holds the mandrel while others use a Jacobs chuck or a four jaw chuck with small jaws. They all work.


