
Making the Base and Arm for the Jig.
Some scrap plywood can make all the difference in a sharp edge.
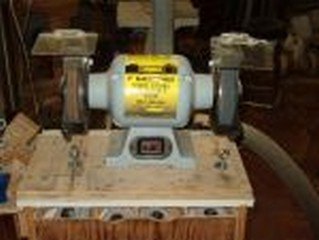
I begin the jig by taking a piece of 3/4" plywood that fits the grinder base and extends about 5" past the wheels on either side.
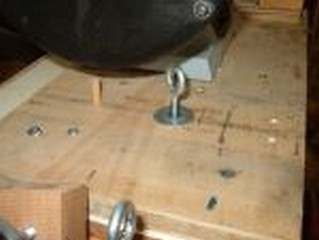
I have fastened a t-nut in line with the left wheel center and used it to hold a 1/4" eyebolt and washer. About 3" farther back is a piece of 1/4" dowel that will later serve as a pivot guide. No dimensions are given as each grinder is a bit different. The pictures should be sufficient but I will come up with a set of plans in the future.

The heart of the system is a 3" wide piece of 3/4" plywood with a 14" slot cut down the middle. This becomes the jig arm. The length of the arm is
the length of the longest tool you intend to sharpen straight across + 6"
Typically this will be either a roughing gouge or a bowl gouge. You may want both a long and a short arm as the long one can stick out the back of the grinder stand a long way.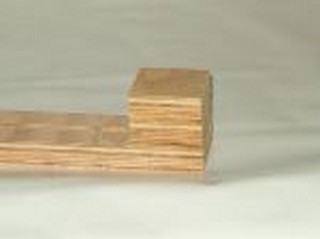
Now measure from the base of the platform to the center of the grinding wheel. In my case this is 6 1/4". Subtract 4". I get 2 1/4". Build up the solid end of the arm to this thickness. I glued on two 3/4" blocks each 3" x 2" to get the height when added to the 3/4" thickness of the arm. Do not be too paranoid about this. 1/4" either way will likely not hurt. There is little strain here; almost any glue will do, even a couple of brads.
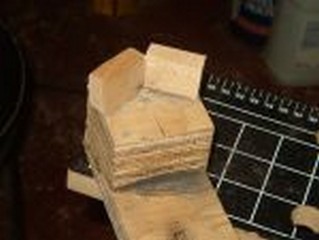
Here on the end of my jig arm you can see where I have glued two 1" long x 3/4" high scrap blocks to make a pivot 'v' and drilled a 3/8" hole about 1/8" deep to aid in a pivot spot. Again there is nothing critical here. I just used hot glue to hold the blocks in place.
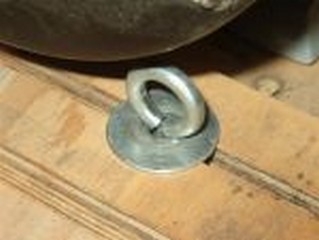
Slide the arm under the washer and eye bolt and line the slot up with the guide pin. Just snug the eye bolt enough to hold everything in place.
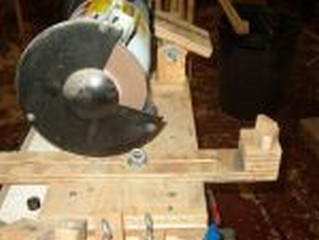
The arm is ready to go. All we need is a tool to sharpen and a holding block to handle the tool. Actually, for tools that sharpen straight across like roughing gouges and some bowl gouges, we are already good to go. However, the hard tools to sharpen are the bowl gouges with swept back or "Irish" grinds and spindle gouges with a "lady finger" grind. For those the holding block is needed so it makes sense to do it now.