Getting to the Heart of the System
Get it right once and the holding block allows it to be right every time
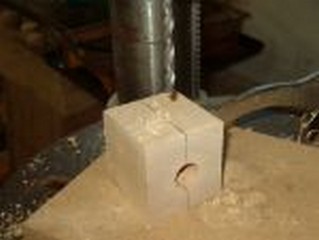
About 1/2" in on the side, drill a centered, 7/32" hole through to the original hole. This will be the hole that will hold a thumb screw to hold the tool solidly in place. Later it will be tapped. If you have never tapped threads for a screw before, relax. It is no harder than driving a screw or a bolt.
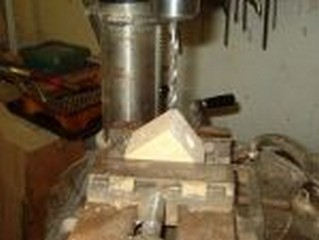
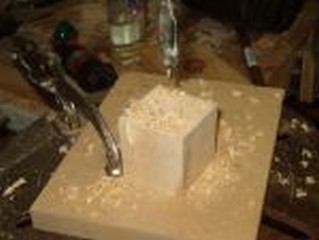
Using a drill press vice or a clamp arrangement hold the block in place to drill a 45° 5/16" or 3/8" hole 1/2" deep in the end of the block. i.e. 45° from the face and 135° from the edge. For a spindle gouge a block with an angle of 30° from the face and 150° from the edge is more appropriate. In the picture the hole on the right face is drilled for the shaft of the tool. This is the rear face of the holder when in use. The hole on the left top face is drilled to be tapped for the bolt to hold the tool in place. The block is angled to be drilled at 45º.
