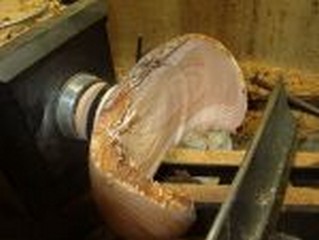
A few days later I have taken the inside down to about 3/4"from the bottom.

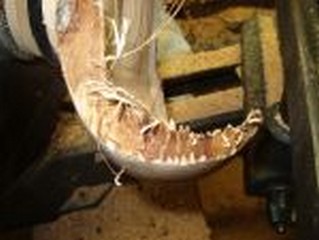
However, the long fibers on the following edge have nothing to support them as they are cut and they tend not to cut cleanly in this situation. Long strands are left behind.
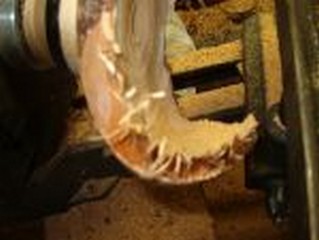
and following edges. Resist the temptation to pull the long strands to get them out of the way. Each strand pulled will ruin more of the rim.
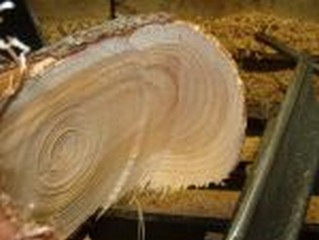
I continue down the piece using the 3/16"straight tool to cut out the center and the 45° tool to clean up the inside edges. Note the ledge where the straight tool cuts stop and I will move to the 45°. There is a somewhat arbitrary point where it is easier for the piece to use a bent tool. The 45 ° will be used to remove the ledge and blend in the side cuts.
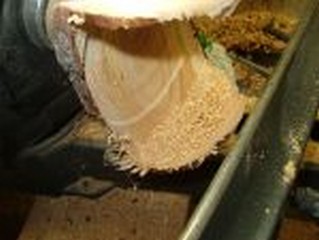
Another thing to watch for is the "basket effect" of a piece with incurved sides. While a great many of the shavings are evicted through the sides, a number are caught and carried by the incurve. In a regular bowl they are a nuisance. In this one with unsupported, thin sides, they can cause a lot of chatter. Stop occasionally and clean them out.